
2026 How to Choose the Best Nail Varnish Wraps?
Choosing the right Nail Varnish Wraps is about more than picking a color that looks good in a product photo. Fit, flexibility, finish, and clear application instructions all affect how a set feels and wears. A wrap that sits smoothly across the nail can look polished, while one that bunches near the cuticle or catches at the sidewalls may lift sooner. Small details matter.
This guide explores how to compare wrap sizes, check the material and finish, and assess whether the application steps suit your routine. It also considers removal guidance and how to spot product information that is specific, readable, and realistic. Wear time can vary with nail shape, preparation, handwashing, and daily tasks, so no single result is guaranteed. That can be frustrating. Even careful application may leave a tiny edge uneven, and glossy photos rarely show every wrinkle.
Rather than treating one brand or style as best for everyone, the sections ahead offer practical criteria for narrowing your choices. Look for a size that covers the nail without pressing onto surrounding skin, and follow the maker’s directions for application and removal. If your nails are sensitive or easily damaged, take extra care and stop if irritation occurs. A thoughtful choice starts with your nails, not a trend.
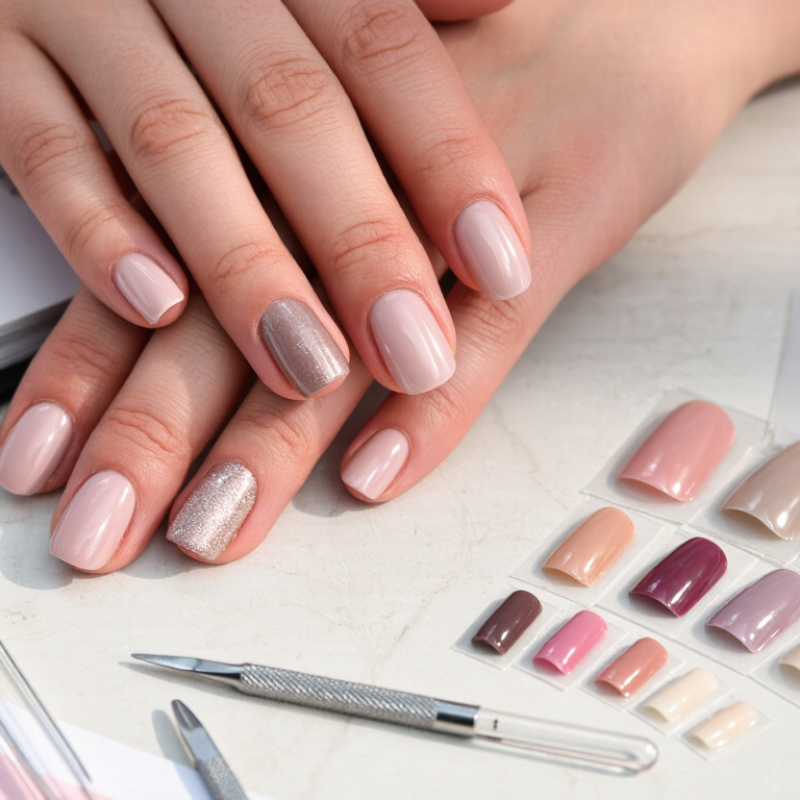
What Nail Varnish Wraps Are and How They Work in 2026
Nail varnish wraps are thin, pre-coloured films designed to sit over the natural nail. Many are made from dried nail lacquer, while some use flexible, gel-like materials. They are not nail extensions. Their purpose is to give nails an even coat of colour without brushing on liquid polish. Simple idea.
Each wrap has an adhesive side. After choosing a size that fits without touching the skin, place it near the cuticle and smooth it toward the tip. Gentle pressure helps limit wrinkles and trapped air. Some products may need warming or a top coat, but directions differ. Check the instructions rather than assuming every wrap works the same way. Trim excess material carefully, then seal the free edge if recommended.
Fit matters more than a perfect first attempt. A wrap that is too wide can catch on surrounding skin, while one that is too narrow leaves a visible strip of nail. Clean, dry nails usually help adhesion; oils or hand cream can make lifting more likely. The finish may last several days, but water, friction, nail shape, and application all affect wear. Edges can still lift. Don’t pull them off if they resist; use the removal method provided, and avoid applying wraps over sore or damaged nails.
2026 How to Choose the Best Nail Varnish Wraps? - What Nail Varnish Wraps Are and How They Work in 2026
| Wrap Type | What It Is | How It Works | Curing Method | Typical Wear | Best For | What to Check Before Buying |
|---|---|---|---|---|---|---|
| Dry nail polish wraps | Thin, pre-dried layers of nail lacquer shaped as adhesive-backed strips. | Select a strip close to the nail width, apply it to a clean, dry nail, smooth it from the center outward, and file away the excess. | No lamp required. The lacquer is already dry, though a compatible clear top coat can add shine and help protect the edges. | Often about 5–10 days; results vary with application, nail condition, handwashing, and daily activities. | Quick, at-home color or nail art without waiting for wet polish to dry. | Check strip widths, included sizes, flexibility, and whether the instructions recommend a top coat. |
| UV/LED gel wraps | Flexible gel-based strips designed to harden under a compatible nail lamp. | Apply the strip, trim or file the free edge, then cure it according to the product instructions. | Requires a compatible UV or LED lamp; follow the specified curing time and lamp requirements. | Can last around 1–2 weeks with suitable application and care, but wear depends on the product and user. | People seeking a firmer finish and willing to use a lamp and follow curing instructions. | Confirm lamp compatibility, curing instructions, removal method, and any skin-contact precautions. |
| Clear or sheer wraps | Transparent or lightly tinted wraps, sometimes with a subtle pattern or finish. | Applied like other wraps; the natural nail remains visible through some or all of the design. | Depends on the formula: dry lacquer wraps need no lamp; gel wraps require curing as directed. | Similar to the corresponding lacquer or gel format; clear edges may make lifting easier to notice. | A natural-looking manicure, a discreet design, or layering over another color. | Look for the stated opacity, finish, and whether the wrap is intended for bare nails or layering. |
| Printed or patterned wraps | Pre-decorated strips with designs such as lines, gradients, or small motifs. | Fit each strip to the nail and smooth carefully to reduce creases, especially around the sidewalls. | Usually no lamp for dry lacquer styles; gel-based versions must be cured according to their directions. | Generally comparable to the same product format without a print; designs do not guarantee longer wear. | Decorative looks without hand-painting or salon-style nail art tools. | Check the printed design scale, strip dimensions, and whether the pattern is centered for different nail sizes. |
| Short-wear or peel-off wraps | Wraps formulated or marketed for easier, temporary removal; exact construction varies. | Adhere to the nail for a short-term manicure and remove using the method specified by the maker. | Varies by formula. Do not assume a peel-off product is lamp-free unless its instructions say so. | Designed for temporary use; actual wear depends on the adhesive, nail preparation, and exposure to water. | Occasional wear or people who prefer a simpler removal routine. | Read removal directions and avoid pulling or forcefully peeling product from the nail plate. |
| Size-inclusive kits | Kits that provide multiple strip widths or sizes to fit a range of nail shapes. | Choose the closest-fitting strip for each nail; trim excess rather than stretching a strip across the nail. | Depends on whether the kit contains dry lacquer or gel wraps. | Fit can affect edge sealing and lifting, but the number of sizes alone does not determine wear time. | People whose nails vary in width or who have difficulty finding a close fit. | Compare the number of widths, strip length, and application guidance for curved or narrow nails. |
Selection tip: Choose the wrap format first—lamp-free dry lacquer or lamp-cured gel—then compare fit, finish, application instructions, and removal method. Wear-time figures are general estimates, not guarantees; follow the product directions and stop use if irritation occurs.